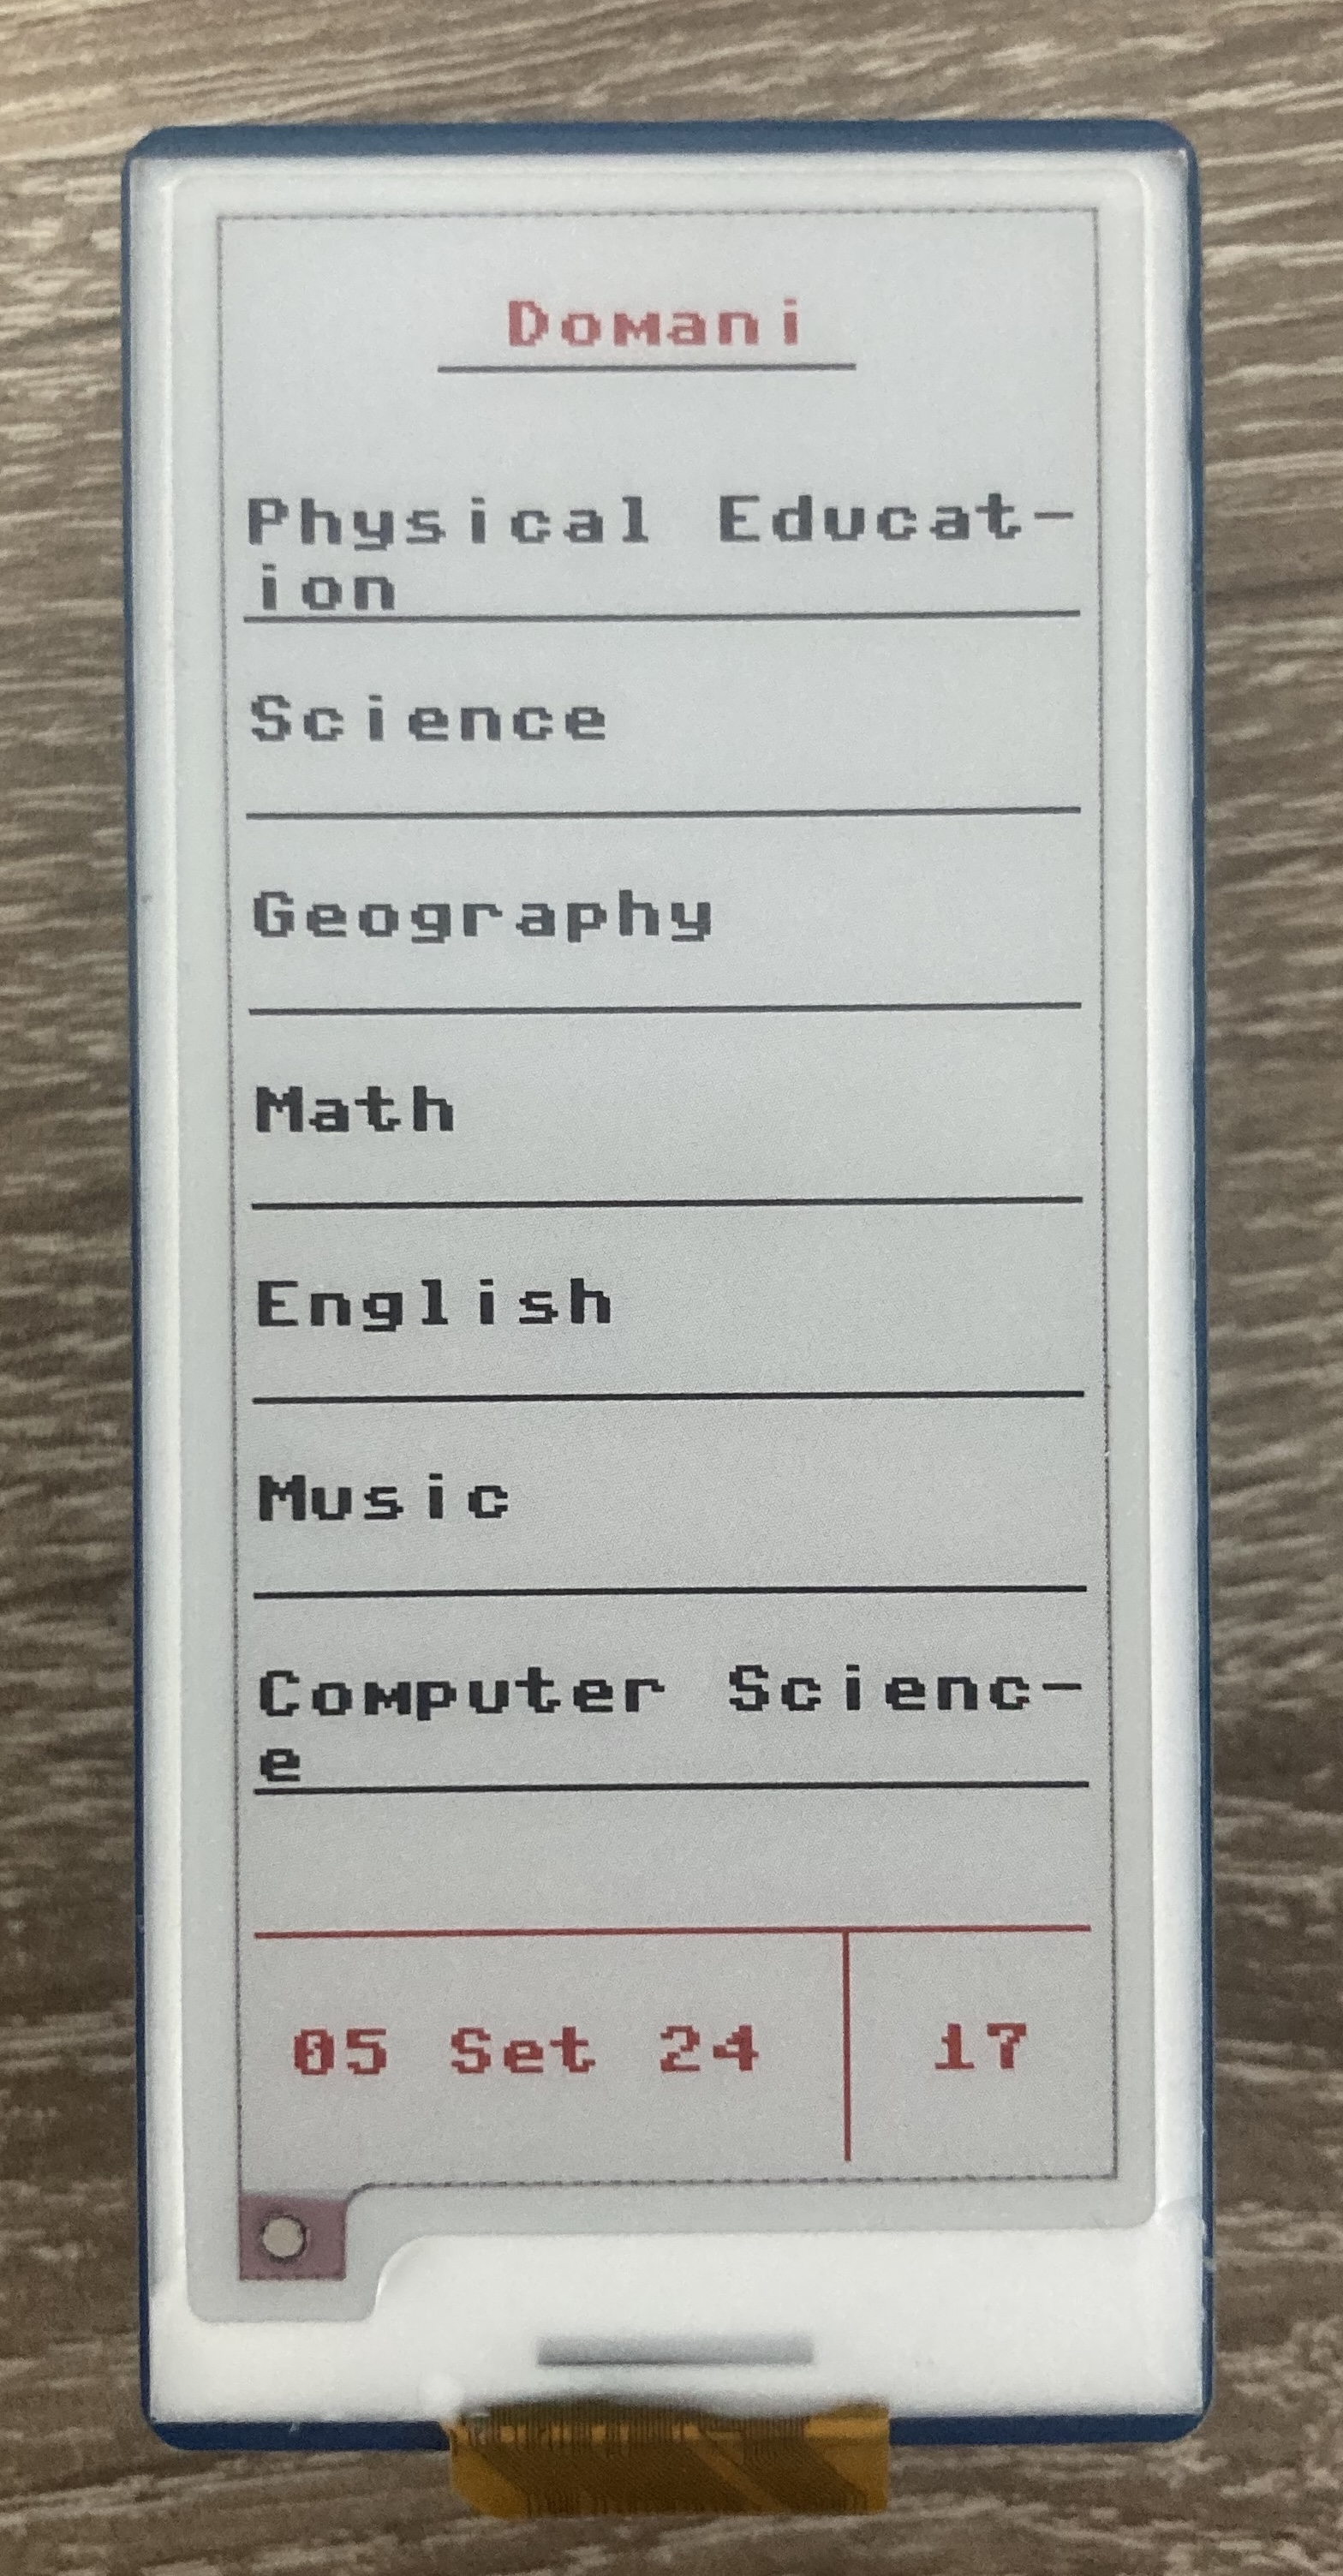
Display your schedule on a e-ink display using a Raspberry Pi Pico WH with Micropython
Note: This project includes the display driver for the Waveshare Pico e-Paper 2.9 (B) display provided by Waveshare.
Capabilities
- Display up to 7 tasks at a time
- Display the current date
- Display the schedule for tomorrow or today depending on the time of day
Hardware required
- Raspberry Pi Pico WH
- Waveshare Pico e-Paper 2.9 (B)
How to assemble
NOTE: This project was made using a Waveshare Pico e-Paper 2.9 (B) [V4], other models may have different pinouts which could send voltages to the wrong pins and therefore damage the display, before starting please check on the board the model (Pico e-Paper 2.9) and that the sticker has V4 written on it and that is in the B/W/R box.
Using the socket
If you are using a Raspberry Pi WH (With GPIO headers):
- Connect the raspberry pi to the socket of the display.
How to install the software
Using the MicroPico extension for VS Code
- Download the latest version of main.py from the Releases page.
- Create a new directory for the project.
- Flash the Micropython firmware on the Raspberry Pi Pico (Official guide).
- Download and Install Visual Studio Code.
- Install the MicroPico extension on VS Code.
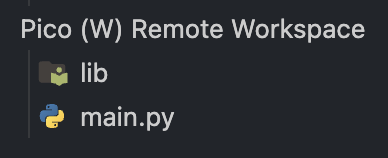
- Open the directory previously created containing main.py on VS Code using File > Open Folder.
- On VS Code run "MicroPico: Configure project" using the command palette (⇧+⌘+P/⇧+ctrl+P).
- Connect the Raspberry Pi Pico to your computer using a USB-A to USB-Micro-B data cable.
- Check the status of the connection using the status bar (
 ), if it shows disconnected click that same indicator to retry the connection.
 - Once the connection has been enstablished click on
 on the status bar to show the file system of the Raspberry Pi inside of the Explorer tab of VS Code.
 - Transfer main.py to the Raspberry Pi Pico.
- Install needed dependecies (datetime) using the MicroPico Tab (
 ) (You may need to connect to a Wi-Fi Network using the same tab).
 - Open main.py on the filesystem of the Raspberry Pi Pico and modify the configuration on the top of the file, it should look like this:
change the values to match your configuration.# System config fetchConfigFromRemote = False scdate = 9 fastBoot = True utcOffset = 2 refreshTime = 3600 ledOffEnable = False ledOffStart = 21 ledOffEnd = 7 # Network config ssid = 'YOUR_SSID' password = 'YOUR_PASSWORD' ntptime.host = "pool.ntp.org" scheduleServer = "https://YOUR_WEB_SERVER/schedule.json" # Strings str_today = "Today" str_tomorrow = "Tomorrow" str_months = ["Jan", "Feb", ...] str_free = "Free as the wind" # Display driver config EPD_WIDTH = 128 EPD_HEIGHT = 296 SCK_PIN = 10 DIN_PIN = 11 RST_PIN = 12 DC_PIN = 8 CS_PIN = 9 BUSY_PIN = 13
System config:
fetchConfigFromRemote: Fetch config from remote server, see example json.scdate: Time after which to show the schedule for the next day.fastBoot: Use a less verbose init process. (Faster)utcOffset: UTC offset in hours. (ex. +2 = UTC+2)refreshTime: How many seconds to wait before issuing a refresh.ledOffEnable: Enable LED scheduled control.ledOffStart: Time after which to turn off the onboard LED. (Requires ledOffEnable to be True)ledOffEnd: Time after which to turn on the onboard LED. (Requires ledOffEnable to be True)Network config:
ssid: The SSID of your Wi-Fi network. [REQUIRED]password: The password of your Wi-Fi network. [REQUIRED]ntptime.host: NTP Server to use for time retrieval.scheduleServer: URL for the schedule.json hosted on a web server, you can find an example for formatting here, for more info see schedule format. [REQUIRED]Strings:
These can be used for localization, try to use the same character count otherwise change manually the offsets.
Display driver config:
Display pins mapping, don't change if using socket.
Schedule Format
The Raspberry Pi Pico will retrieve your schedule from the defined web server, the screen can display up to 7 subjects, if more are defined "..." will be displayed instead, if the day dosen't contain any subject a "free" screen will be displayed. Example Schedule:
{
      "weekly_schedule": {
        "0": [
          {
            "time": "08",
            "subject": "Hello World!"
          }
        ],
        "1": [
          ...
        ],
        "2": [
          ...
        ],
        "3": [
          ...
        ],
        "4": [
          ...
        ],
        "5": [
          {
            "displayMode": "free"
          }
        ],
        "6": [
          ...
        ]
      }
    }
For a full example see example/schedule.json.
This project is not affiliated with any of the products used.